Making succulent gardens for clients is one of my favorite things to do at the flower shop. The only problem: I always want to keep them for myself!
Succulents can seem intimidating, but these drought-resistant plants can be low maintenance and easy if you know what you’re doing. If you’re in the “I always forget to water my plants” camp, succulents may be your perfect match!
A few notes before we begin:
I’m not a succulent expert. {*wink* disclaimer *wink*}
One of the biggest sins well-intentioned succulent owners commit is over watering. Succulents have built-in water storage systems to help them thrive in dry climates, so watering too much or too often, or not having adequate drainage, can waterlog them and lead to rot. And there’s nothing cute about rotten succulents, y’all.
Most varieties thrive in lots of sunlight, but some can adapt to low light situations. If you’re making a succulent garden for inside your home, pick hearty varieties with bright green leaves, and save the gorgeous gray and blue ones for outdoor spaces.
Succulents need quick-draining soil. You can buy succulent potting mix at your local garden center, or you can save some cash and make a big batch of your own with equal parts light potting soil, sand and perlite.
You’ll need:
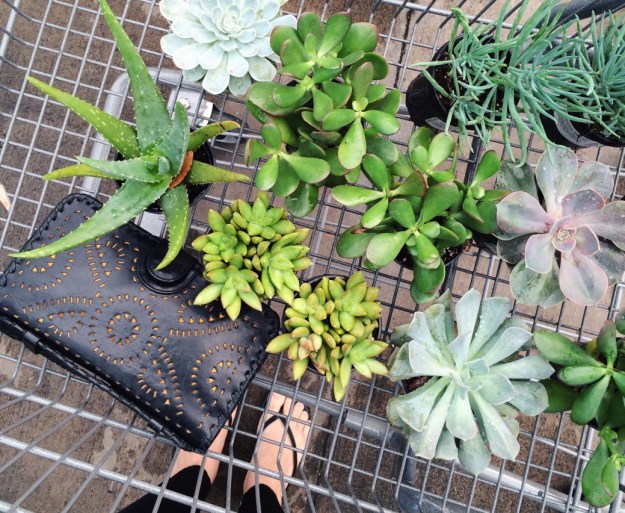
- A variety of succulents. I like to get a good mix of textures, shapes and heights for each succulent garden.
- A nice ceramic pot with drainage. Picking out planters is almost as fun as picking the succulents! Make sure the pots you choose have drainage holes in the bottom, and/or drip plates. Unglazed pots offer the best drainage.
- Rocks
- Light Potting Soil
- Sand
- Perlite
- Sheet moss (optional)


Okay, let’s do this!
- Make your succulent potting mix: mix equal parts light potting soil, sand and perlite in a large container and stir well. You can make a huge batch and store it in a large bucket with a lid, or just enough to fill the pot you’re working with.
- Build a drainage bed of rocks in the bottom of your planter. Extra water in the soil will run through this layer and out the drainage hole. If you’re dealing with a beast of a pot like the one I used here from West Elm, and you don’t want it to weigh a metric ton when you’re finished, mix the rocks with some orchid bark to fill some space and build up the base.
- Fill the rest of the planter with your DIY succulent potting mix.
- Remove your succulents from their plastic pots and carefully arrange them in the potting mix. If your succulents will live indoors, space them out just a hair; outdoor gardens like the one below can be potted closer together.
- Cover any visible soil on the top of your garden with sheet moss and/or extra rocks. This is an optional step, but makes everything look neat, clean and finished.

Care Tips:
Keep a spray bottle filled with clean water on hand to give the garden a good misting — enough to moisten the soil — once a week. This should be plenty to keep them happy and hydrated most of the year!
In summer months, or any time the soil feels extra dry, water them carefully with just enough to moisten — not soak — the soil. Let it dry completely before watering again.
If the leaves start to yellow, you may be over-watering.
It doesn’t hurt to give them a little sunshine once in a while! If your garden is looking sad, place it outside in an area with indirect sun for a few days. (C has had luck regrowing succulents that looked completely dead by placing them in a shaded area on the side of the house for several weeks.)
I’d love to see your succulent garden creations! Tag me on Instagram @keiralennox and I’ll do a round-up post with all your masterpieces. :)
What do you think?